

 Destination Anywhere
Trail gear
Trail gear that earns its place in your vehicle
A practical starting kit for repairs, recovery, and an unexpected wait, with short guides to every item.
A useful trail kit gives you a reasonable way to handle the problems your route and vehicle might present. It also helps everyone stay comfortable while waiting when the right answer is to stop. You do not need to buy every recovery accessory before your first dirt-road outing. You do need a serviceable vehicle, appropriate equipment, and a realistic understanding of what you can safely do with it.
Build around three questions: Can we deal with a basic tire or vehicle problem? Can we recover without creating a bigger hazard? Can everyone manage an unexpected delay? This guide brings those questions together, with short companion articles for the individual pieces. It is preparation guidance, not a substitute for your vehicle manual, product instructions, recovery training, or medical training.
Start with the trip and the vehicle
A maintained stock vehicle on an appropriate route can be a better starting point than an extensively modified rig with overdue repairs. Check tires, the spare, visible leaks, battery condition, and the equipment you expect to use. Confirm route access and conditions with the land manager. Tell a trusted person where you are going and when they should expect you back, and plan communications for places without service.
The National Park Service's Mojave guidance emphasizes spare tires, suitable lifting equipment, extra supplies, and a return plan. Its message is especially relevant to remote routes: being able to drive into an area does not guarantee an easy way out. Choose a turnaround point before the day becomes an argument between pride and daylight. NPS off-pavement preparation.
Pack within the vehicle's payload and storage limits. Secure heavy equipment low where practical, and keep the medical kit, lights, and emergency water accessible. If getting the jack requires unloading everything into traffic, the packing system needs another try.
Build a tool roll around familiar jobs
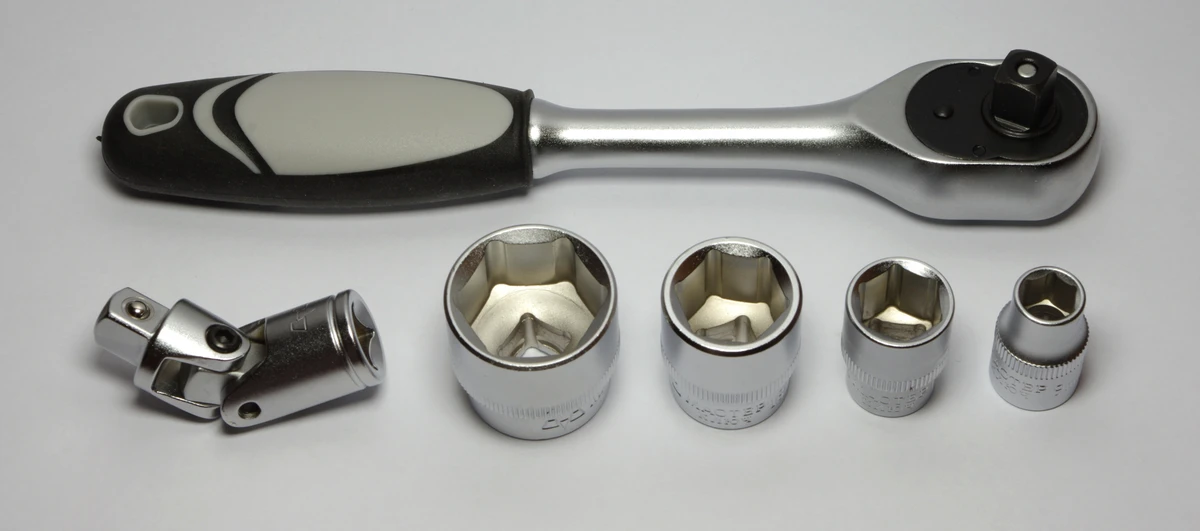

Begin with general tools that fit your vehicle: relevant sockets and wrenches, drivers, pliers, useful extensions, gloves, and eye protection. Try them on planned tasks at home. A tool that cannot reach the fastener is merely luggage, even when its size is correct.
A multitool is handy for packaging and small adjustments. A hammer or mallet earns a place when you have a specific intended use. Neither replaces the proper mechanical tool. Resist the idea that more force will solve an unfamiliar problem. Safety-critical steering, brake, fuel, and driveline problems can require qualified recovery or repair.
Keep parts selective. The spare-parts guide covers belts, vehicle-correct fluids, U joints, and bulbs. Carrying a part makes sense when it matches the actual vehicle and someone has the knowledge and tools to fit it. A failed belt may be the result of a seized component, and topping up a leaking system does not establish that driving is safe. Put maintenance spending ahead of a box full of speculative spares.
Make the tire plan complete
Tire preparation includes a gauge, a suitable compressor, appropriate repair supplies, a usable spare, and a workable wheel-change setup. Keep these together in your planning even if they occupy different storage spaces. Check the spare's inflation and condition as deliberately as the four tires on the ground.
The tire-repair explainer distinguishes an emergency product from a proper inspected repair. USTMA's guidance excludes shoulder and sidewall injuries from its repairable area and requires internal inspection for proper repair. A small-looking puncture does not tell you everything about a tire that has run low. When uncertain, use a suitable spare or arrange recovery. USTMA repair guidance.
For wheel replacement, confirm the lug socket, locking key, spare-carrier tool, and jack actually work with your current wheels and tires. Save your vehicle's torque specification and procedure. Tightening by feel is not a replacement for the specified torque, and a number from someone else's truck is not a universal setting.
The jack guide addresses lifting-point compatibility, flat-tire clearance, and stable ground. Never put your body under a vehicle supported only by a jack. A suitable support base must follow the equipment instructions; loose piles of rocks or wood are a bad substitute. If safe lifting is impossible, stop. Hi-Lift safety instructions.
There is also no universal trail tire pressure. Load, tire construction, wheel setup, terrain, and speed change the decision. Follow applicable guidance, carry enough inflation capability to restore road pressure, and do not confuse airing down with repairing damage.
Recover deliberately
First ask whether you can safely remove a simple obstruction or improve traction without a loaded recovery line. A shovel and traction boards can be useful on suitable soft ground. Stop spinning when progress stops; boards require the correct placement, a clear area, and controlled driving. Use them only within their model's limits, including restrictions on ramps or bridging. MAXTRAX instructions.
For the buying decision, the full winch-sizing deep dive explains vehicle weight, drum layers, power supply, and whole-system limits.
A winch and recovery kit is a system. Mounting, electrical supply, line, anchors, connectors, and operator training all matter. Confirm ratings and compatibility for the intended arrangement. Keep people away from the line of pull and recoil paths, and never touch a tensioned line. A damper does not make the danger area safe. Use rated vehicle recovery points; never attach to a tow ball. WARN recovery mistakes.
Learn the differences between snatch straps, static tow or winch-extension equipment, and recovery ropes. A snatch strap deliberately stretches and stores energy. It must not be used as an improvised winch extension. The correct product depends on the recovery method and the vehicles involved, not the largest advertised breaking strength. ARB recovery guidance.
The connections deserve equal attention. D rings and metal shackles need documented ratings, proper fit, and approved loading. Soft shackles need compatible contact surfaces and protection from damaging edges. Never assume a connector upgrades an unrated attachment point. Take a practical recovery course and begin with supervised, low-complexity practice. An unstable vehicle, doubtful anchor, or uncertain rigging is a reason to get qualified help.
Prepare for darkness and electrical trouble
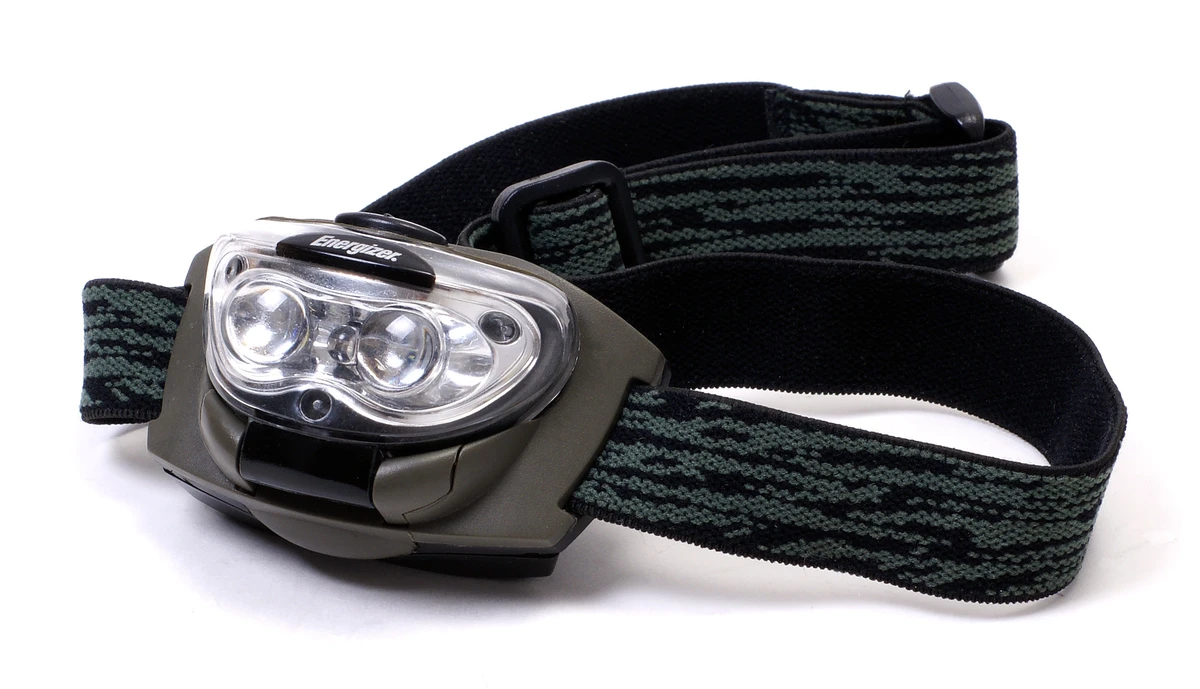

Pack flashlights and a headlamp so you can find them before unloading. Test them in the dark and carry a dependable backup or suitable spare power. A phone light is useful in a pinch, but draining your communication device during a long repair is avoidable.
Jumper cables need a compatible donor and the correct procedure for both vehicles. A battery booster can help when another vehicle is unavailable, provided it is charged and suitable for your starting system. Follow approved connection points and device limits. Neither tool fixes the fault that caused the battery problem; repeated starting assistance is a reason to diagnose before heading farther away.
Inspect electrical equipment between trips. Cracked insulation, damaged clamps, swollen battery packs, and missing charging leads should be discovered at home. Keep manuals offline and readable. A quick monthly kit check is a useful personal routine, with another check before departure and the manufacturer's schedule taking precedence.
Pack for the people
An emergency medical kit belongs where passengers can locate it immediately. Match supplies to your group, training, and remoteness. Check expiration dates and replace used contents. Arrange appropriate storage for personal medicines. Supplies support first aid; they do not replace a plan to obtain professional care. Red Cross kit guidance.
Carry blankets or suitable sleeping bags for everyone, with dry layers for the expected overnight conditions. Add extra water beyond the planned outing's consumption. Divide and secure the water so one damaged container does not empty the whole reserve.
Keep MREs or other shelf-stable emergency food as a permanent gear category, separate from the weekend menu. Permanent does not mean forgotten. Heat changes storage life, so follow product guidance, rotate the supply, and take it out of the vehicle when storage conditions are unsuitable. Familiar, affordable ready-to-eat foods can be just as practical as specialty rations. USDA shelf-stable food guidance.
Include an appropriate, securely mounted fire extinguisher, but prioritize evacuation if a vehicle catches fire. USFA advises getting out, moving away, and calling 911 rather than fighting the vehicle fire yourself. Carrying equipment does not change that limit. USFA vehicle-fire guidance.
Spend in the order you need it
Start with maintenance, the complete tire plan, basic tools, accessible lights, water, food, warmth, first-aid supplies, and communications appropriate to the route. Add traction or recovery equipment for actual terrain and trained use. A winch purchase should include the mounting, accessories, and instruction it requires; postponing that purchase can be sensible while you build the basics.
Finish every trip by resetting the kit. Replace consumed supplies, recharge batteries, clean and inspect recovery gear, dry blankets, and note tools or parts that were missing. Before the next outing, ask each passenger to find the light and medical kit. That small rehearsal is a practical test of a gear system built to be used.
Keep building your kit
Trail Gear General Tools · Trail Gear Tire Repair · Trail Gear Wheel Replacement · Trail Gear Winch Recovery · Trail Gear Traction Boards · Trail Gear Jacks · Trail Gear Flashlights · Trail Gear Fire Extinguisher · Trail Gear Snatch Straps · Trail Gear D Rings · Trail Gear Soft Shackles · Trail Gear Spare Parts · Trail Gear Ropes · Trail Gear Emergency Medical Kit · Trail Gear Blankets · Trail Gear Jumper Cables · Trail Gear Battery Booster · Trail Gear Multitools · Trail Gear Hammers · Trail Gear Extra Water · Trail Gear Emergency Food · Trail Gear Winch Sizing · Trail Gear Route Communications · Trail Gear Shovel Assessment